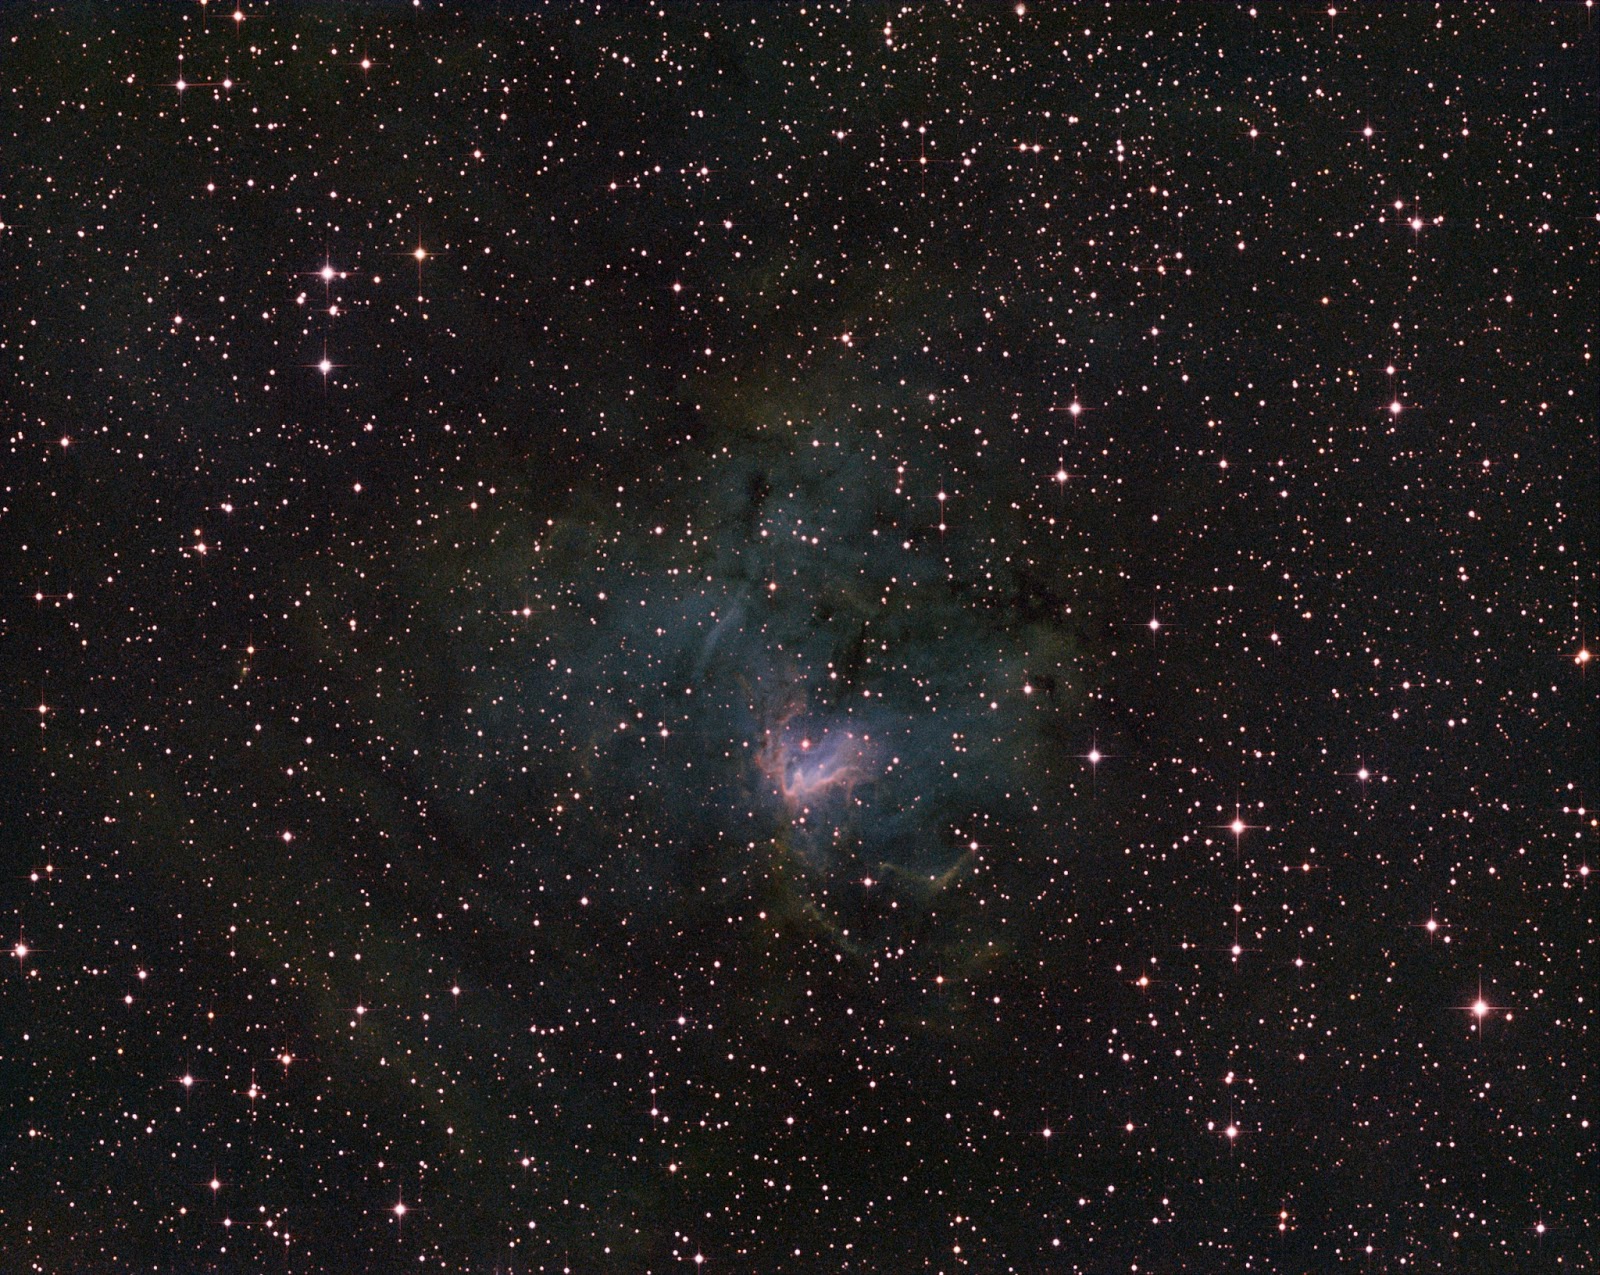
I did not have enough time to capture more SII (red) data. But with a lot of processing (see below), I could bring out quite some detail. Here is the core part of the nebula:

Some nice detail, but it shows that this image could use more data to increase the SNR.
Because this object turned out to be rather faint, I really had to stretch my post processing skills on this one:
- I calibrated, stacked and aligned the images in CCDStack and cropped them.
- Then I neutralized the background of all 3 images
- I combined them by summing them up for a synthetic luminance image
- Deconvolved this image
- Stored all of them (scaled) as TIFF's
- Then, I used Straton to create a star-only image of the synthetic luminance image.
- Loaded the SII, Ha and OIII images in Photoshop and used a tutorial by Paul Kanevsky for DDP (Digital Development Processing) in Photoshop (unfortunately, the action that Paul made out of his tutorial does not work in Photoshop CS6)
- In Photoshop, I combined the SII, Ha, OIII images as described by Ken Crawford.
- Of each individual image, I "brought out the faint stuff" using a great recipe by Scott Rosen.
- Then I adjusted the levels of each individual image to darken the background
- Adjusted opacity of each layer to get a good mix of all colors (as always the green from Ha was dominant)
- Added a CAB layer and applied GradientXTerminator
- Used a "Selective Color" layer to reduce the amount of magenta (mostly in the stars) and to bring out the orange parts more
- Loaded the synthetic luminance image
- Used an adjustment layer with a mask to reduce the brightness of the core and increased its contrast (see e.g. http://helpx.adobe.com/photoshop/using/masking-layers.html for an explanation)
- Layered the luminance image over the combined image using "Soft Light" mode and adjusted Opacity to find a balance between bringing out details and still showing the fainter parts of the nebula
- Loaded the star-only image and used a simple levels adjustment to remove all nebula remnants (but being careful not as to remove any faint stars)
- Layered this star-only image on top (using Screen mode)
- Finally, I created a CAB layer on top and applied the "Star Diffraction Spikes Fat Stars" from Carboni's Astronomy Tools.
There are so many steps here that I tried for real for the first time. Considering that, I'm pretty happy with the result.
This comment has been removed by a blog administrator.
ReplyDelete